From the Trouts Archives: Original Post Date 3/9/15. Author: Kyle Wilkinson
Cover and Slider image by Ekaterina Grosheva on Unsplash
Love 'em or hate 'em, there's no denying egg patterns can be a very effective way to catch trout during certain parts of the year (hint hint: such as the time of year we're currently in, otherwise known as the spawn). Eggs provide an easy, calorie-packed, non-escaping meal for trout. I've even heard the argument that trout also eat eggs because they view them as competition for the survival of their own eggs (Some National Geographic info for ya). I've asked quite a few trout I've been catching lately if this is true, however still haven't got a response. They kinda just stare at me dead-eyed with a half pissed-off look on their face. Either way, eggs work and that's all I care about. There's even the argument that pegging an egg is safer on the fish compared to your standard McFly Foam egg- or 'glo balls' as we called them where I grew up in the Midwest (A super easy fly to tie if you are new to tying!). The safety factor is due to the fact that the fish is always hooked in and around the outer mouth...in other words, there's no taking a pegged egg deep, which can often happen if a fish really attacks your eggy offering. If you've walked into our shop and headed towards the fly bins, you may have noticed the multitude of egg bead patterns available. The possibilities of what to pick out can definitely be somewhat intimidating to the novice pegger. At under $.50 cents a pop, the good news is you're not breaking the bank to stock up. Throw in a pack of hooks and you're good to go!
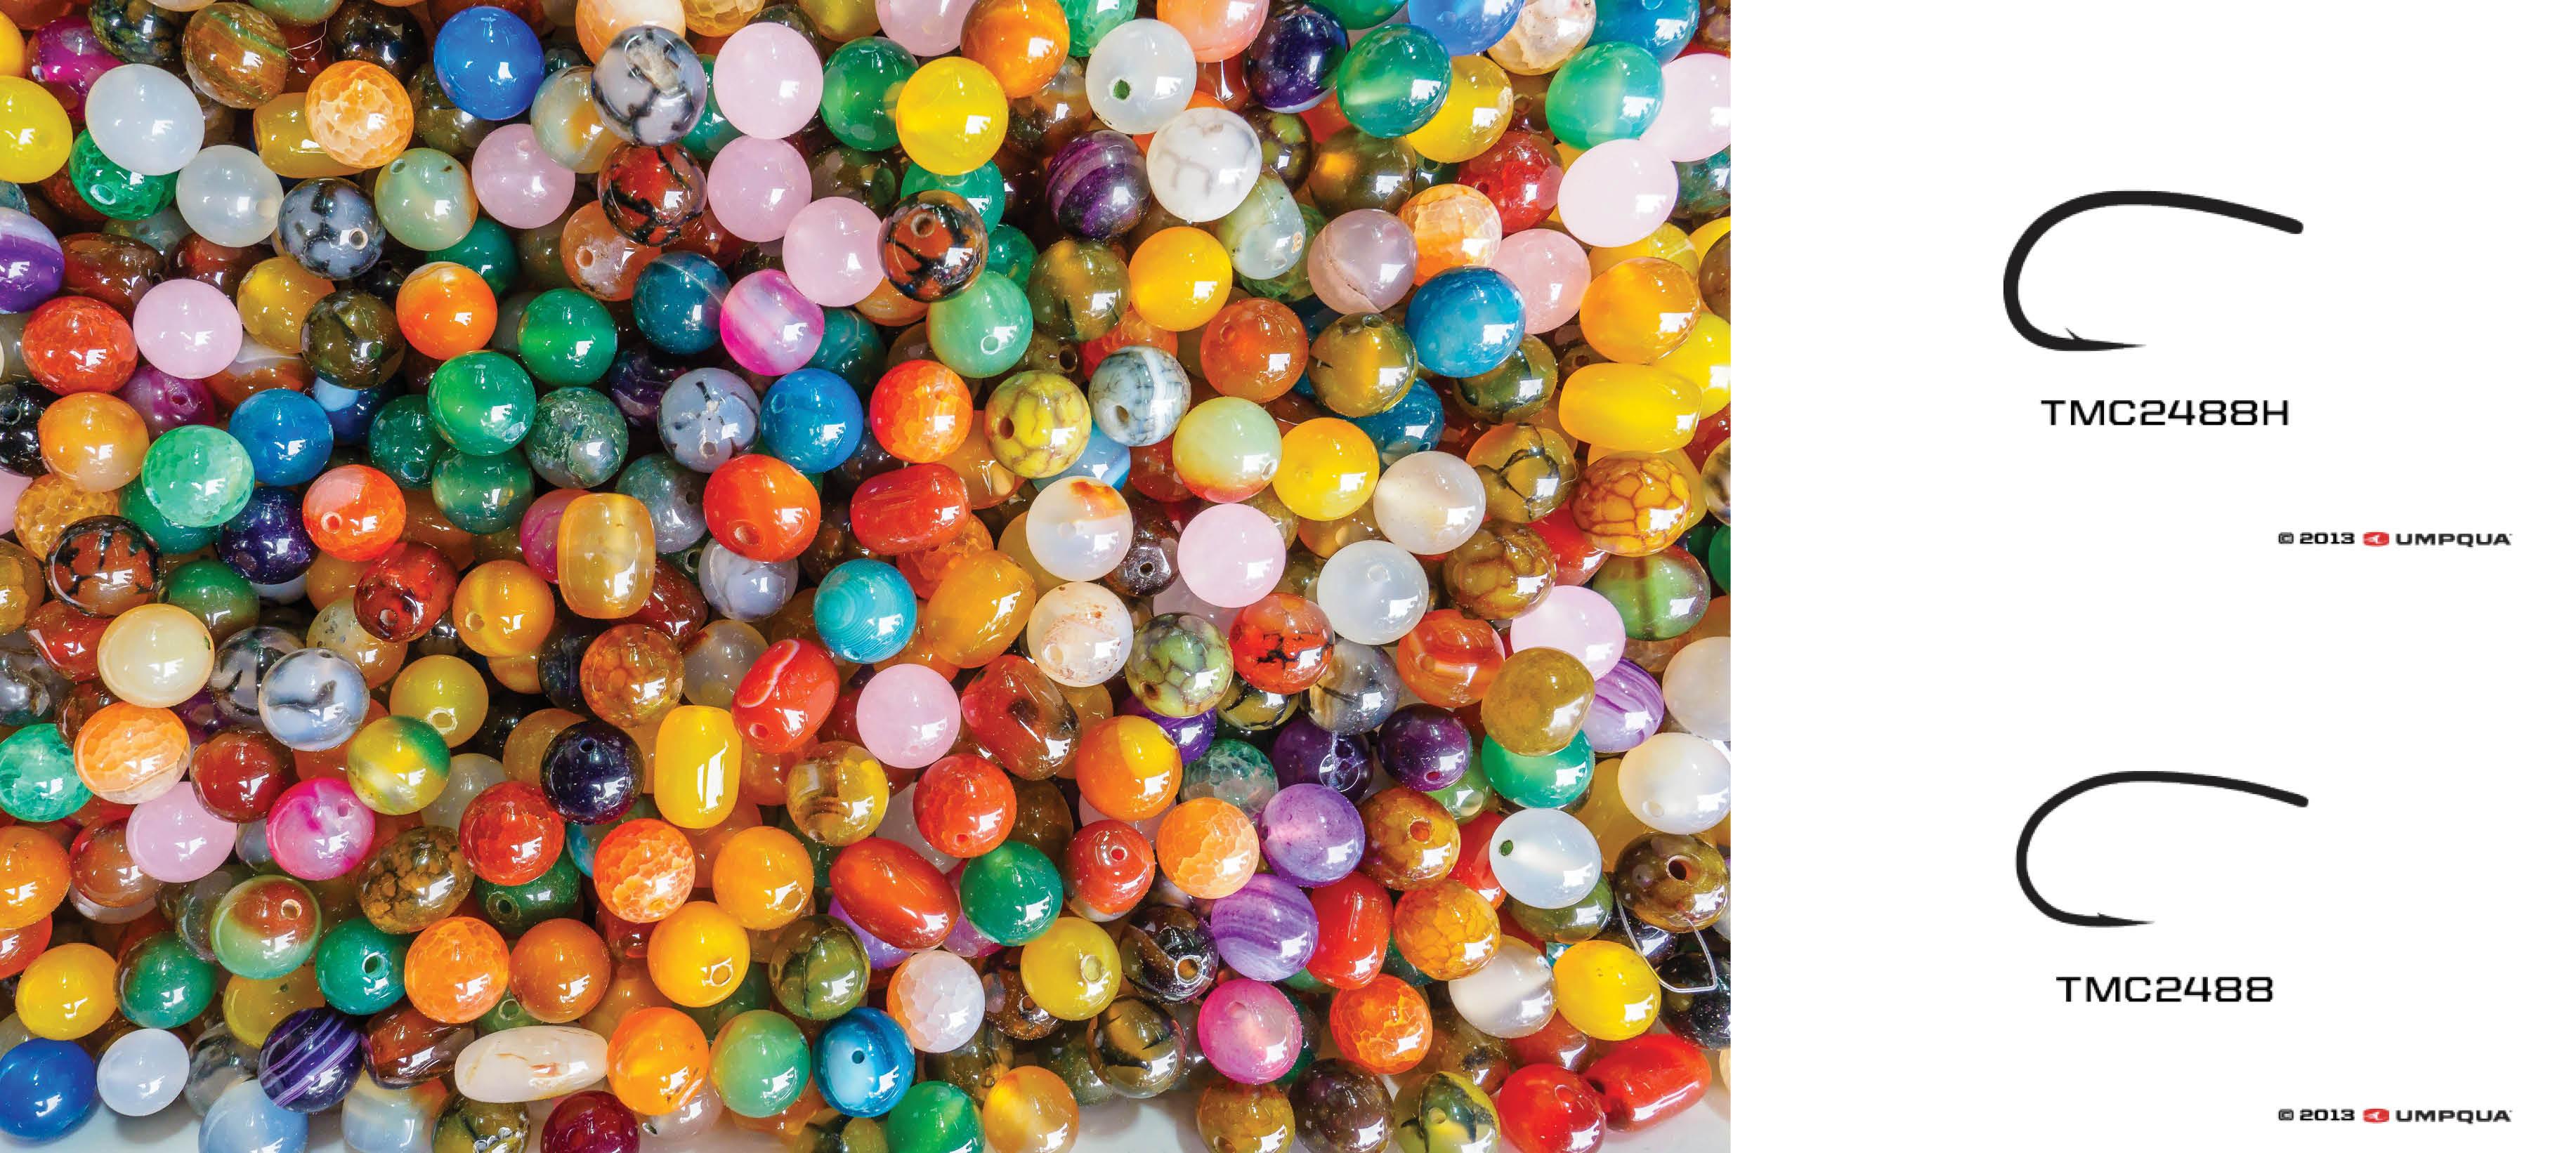
Before we get into the rigging of a pegged egg, let's first discuss putting together a proper 'bead box' as they're so commonly referred to. My suggestion is to put together 6 different options. For less than $10, you can pick up a pack of hooks and a decent selection of beads that will easily get you through the season. My suggestion is to get 4 'natural' colored eggs in a variety of sizes, along with chartreuse and a blue egg. Refer to the image to the right for an example of a good 6-pack. I chose the natural colored eggs because for the most part, matching what is available in the system is always a good bet. Choosing which size egg to fish is simply a matter of matching it to the conditions/fishing pressure. I typically fish the smaller sizes on systems such as the South Platte, particularly when flows are low. If flows happen to take an unexpected bump, or perhaps get a little off-color from pre-runoff snowmelt/rain, I won't hesitate to fish a slightly bigger pattern to make sure it stands out better. Again, experimentation is the key so try different sizes throughout the day until you get results. Chartreuse (and this could totally just be a 'me' thing) always seem to take favor on cloud/gray days. The reason for this is simple, years ago some guy I ran into on the river told me he likes a chartreuse egg on cloudy days. He gave me one and I caught some fish. Since then, cloudy days always call for experimenting with chartreuse eggs. Lastly, just like with other blues/purples making appearances on everything from Copper Johns to Baetis patterns to San Juan Worms, there's no denying this color combo can be very effective at times. I like to fish blue eggs on days where (for a variety of reasons) I feel like I need to show the fish something different. Whether it be abundant angling pressure, changes in weather/streamflow conditions, or perhaps it's just one of those days where I get "a feeling"...having a few blues on hand is always a good idea. So there you have it! Decoding the arduous task of putting together a bead box.
Now on to rigging. It's all about the fingers. If you have skinnier fingers, hold up your index, middle, and ring fingers pushed together. You are now looking at the correct spacing from bead to hook. If you've ever received the comment (in any way/shape/form) that you have large fingers, just use your index and middle finger for the example. Your goal here is to be in the 2-2.5" range between egg and hook. Affixing your bead to a tippet couldn't be simpler. Simply slide your tippet through the hole in the bead once, wrap it up and over and stick it back through a second time. That's all it takes. I recommend making loose wraps with your tippet initially and give yourself plenty of extra tippets to clinch knot your hook on. Once the hook is in place, the looser wraps will allow you to easily slide the bead down towards the hook until you achieve proper spacing. Finally, tightening the two wraps of tippet should be all that is required to hold your bead in place. I typically use my egg pattern as my lead fly and will drop a second fly off the bare hook.
Choosing a hook to use is also very easy. I like to use a wide gap, straight eye hook. Size 14 Tiemco 2488 or 2488H work great.
The picture below shows a properly rigged pegged egg. As you'll see, we used some yellow backing to allow a better visual of the double wrap.