Menu
Category
Trouts Journal

How To Tie // Squirmy Wormie

Ivan Orsic / Jan 31, 2022

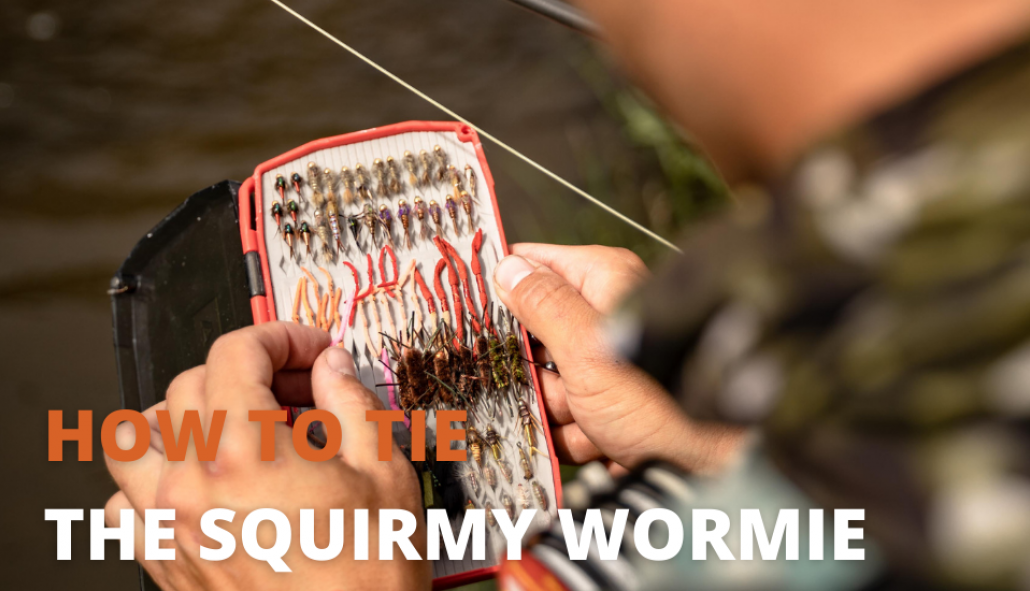
There is only one logical next step when your favorite dry fly, streamer, or nymph isn't doing the trick out on the water. Use a worm. And while I am only half kidding with the above statement, many are still surprised at how well this fly produces. Although this fly is nothing more than some silly stretchy rubber wrapped around a hook, along with a bead or two, the squirmy wormy is one fly that every trout angler should have in their fly box 365 days a year.

Even though it is technically it is the middle of winter, the past couple of days had me thinking about warmer days ahead. And, what comes with those eventual warmer days? Big rain showers and spring run-off. Although these are some of the best times to use a worm fly, these bad boys will consistently produce full nets year-round.

As I mentioned before, the squirmy wormy is a simple fly but a simple fly that imitates several things. Naturally, this fly represents a worm but, it can also represent a larger midge larva—the perfect trout snacks.

But, enough talking about the squirmy wormy, you came to this blog to learn how to tie it. As always, we will be going step by step, but if you would rather follow along through video at your own pace, a fly-tying video will be linked below. Enjoy.


Materials For The Squirmy Wormy

Step One:

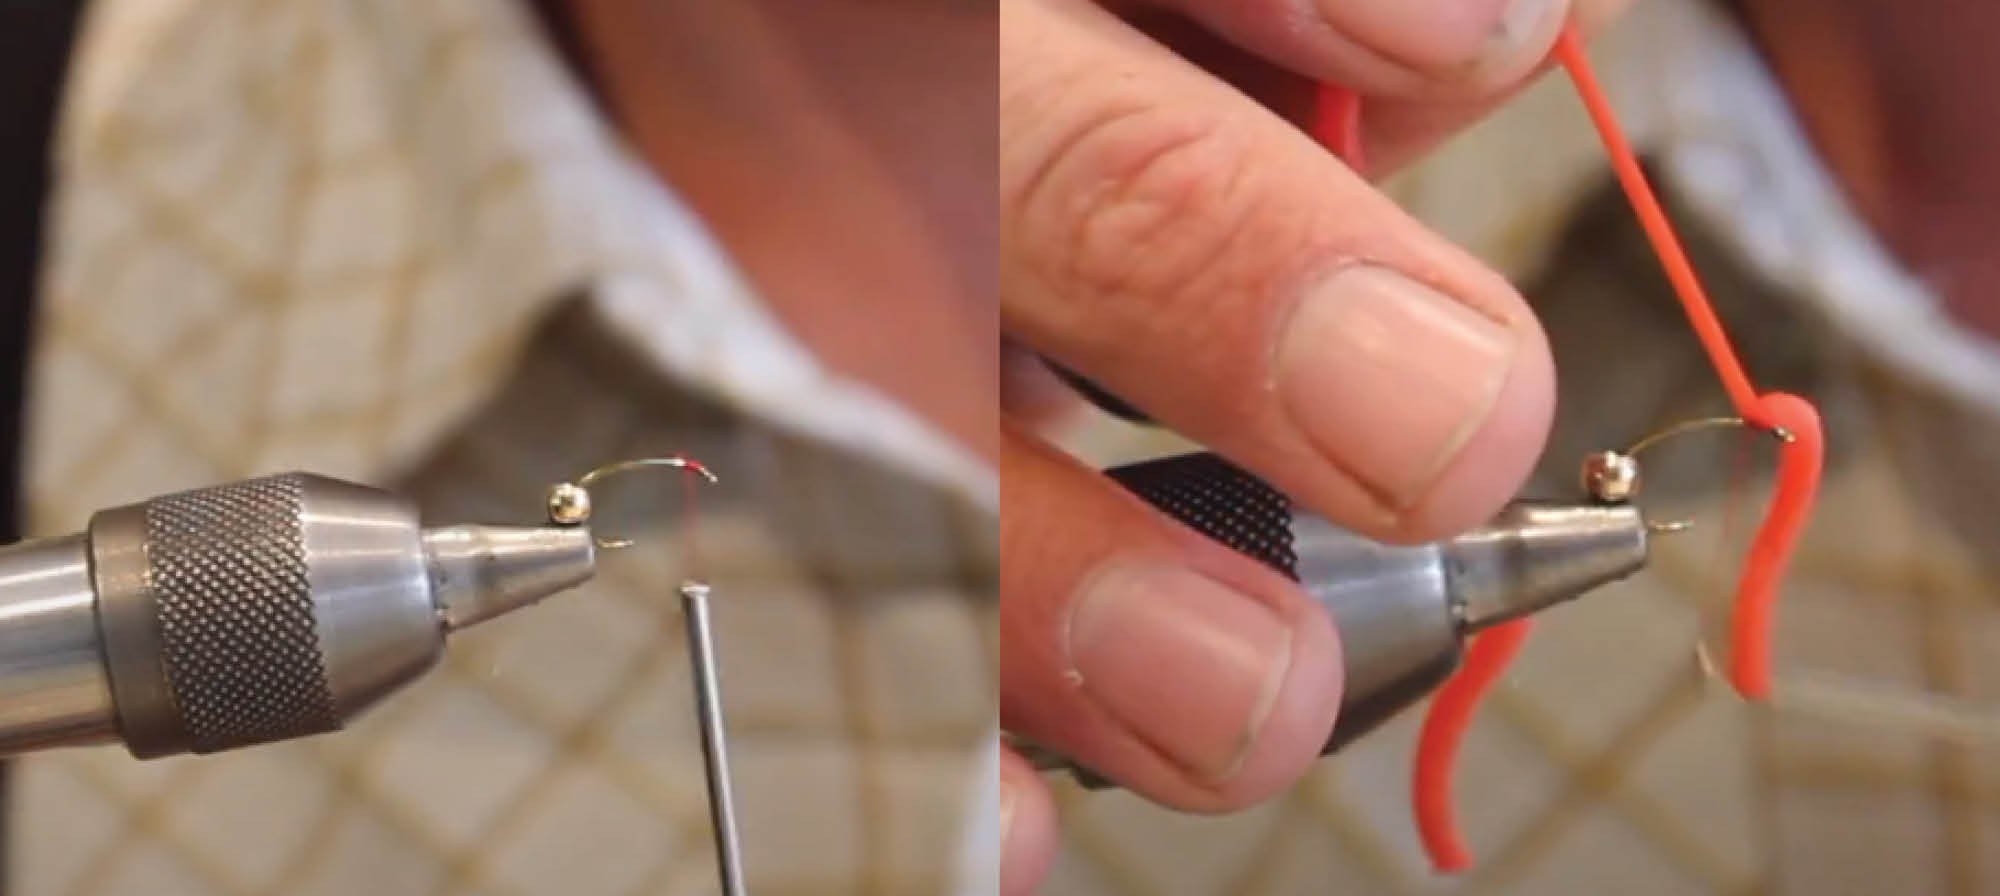
Once you have your bead secured on your hook, begin making your thread wraps directly behind the eye of the hook. No need to go crazy here; just a handful will do.

Step Two:

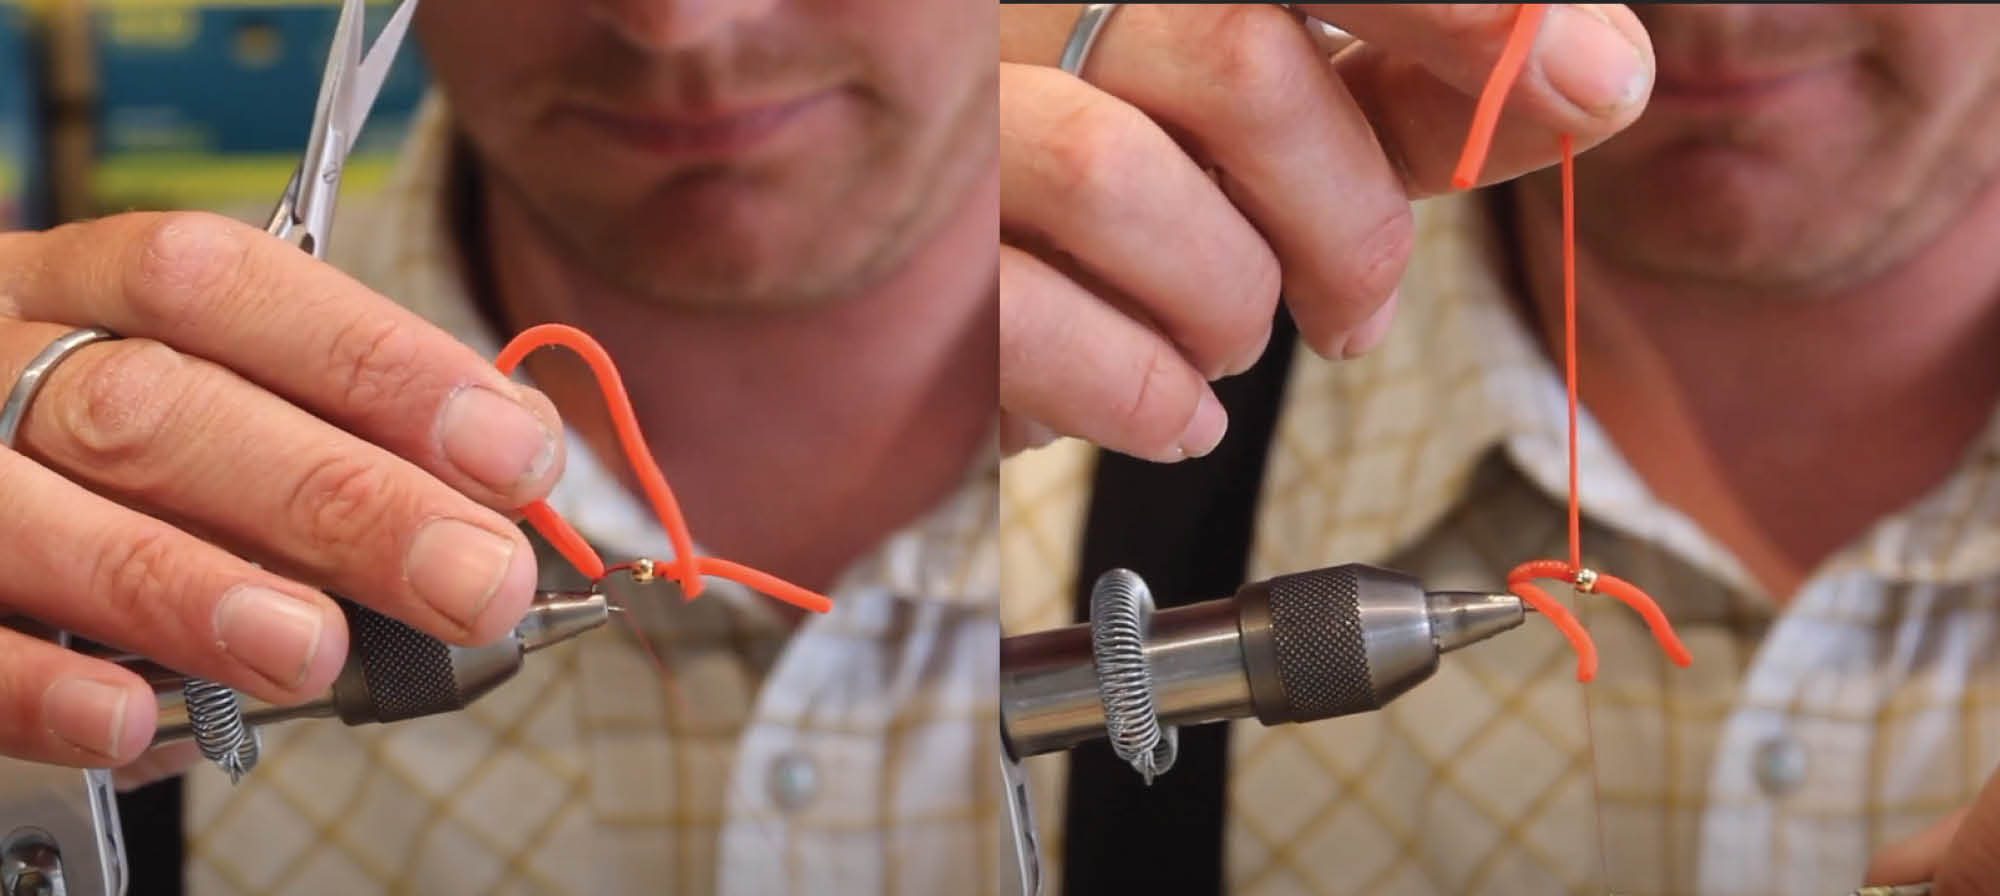
With your bead still sitting behind the thread wraps you just made, take a section of your "squirmy" and tie it in as you would any other material. This can be achieved by making 4-5 tight thread wraps to ensure your piece is secure. Once your material is secure, leave about a half-inch of squirmy hanging out over the eye of the hook. With this in place, you can trim your extra squirmy, which is behind the eye of the hook, to make way for the bead. Before moving to the next step, finish this section with a couple of whip turns and trim your tag end of the thread.

Step Three

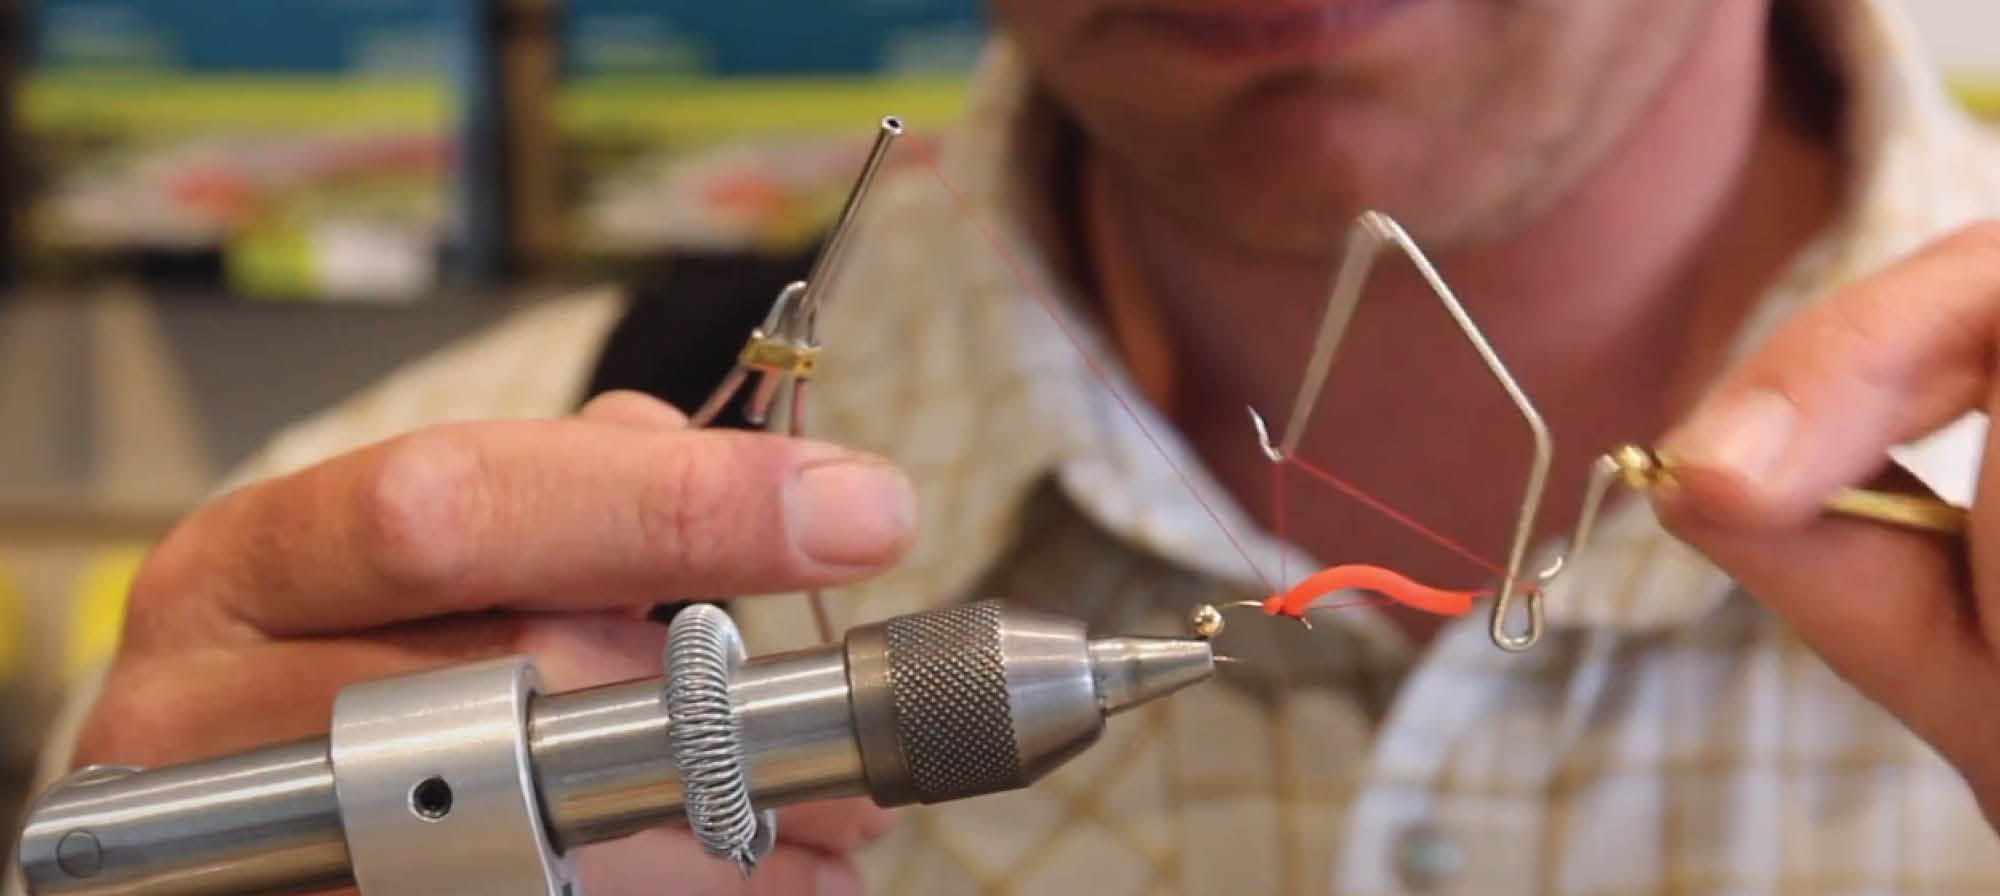
Now that you have trimmed the section of squirmy, it is time to secure your bead into place. Do this by pressing your bead behind your established thread wraps and squirmy material. Next, you will take the existing squirmy piece, make a V shape, secure the squirmy at the bend of the hook, and then progress your thread forward until it is just behind your bead.

With this complete, begin making tight forward wraps with your squirmy material until you reach your bead. Once you have made it to the bead, start making several tight wraps just behind the bead to secure it in place.

Now that everything is secure and in place, the last step is to secure all your work with a few thread wraps. Take your time with these whip finishes. Since these whip finishes will be done on the middle of the fly, it might be tricky and awkward to make your wraps tight and secure. However, if you are in doubt, use a dab of head cement.

As I mentioned before if you would rather watch a fly-tying video then click below!

Shopping Cart

Subtotal

Free shipping over $50.00

Shipping & taxes calculated at checkout

Checkout View / Edit Cart
Sale

Unavailable

Sold Out